1. Remove Old Polish Completely
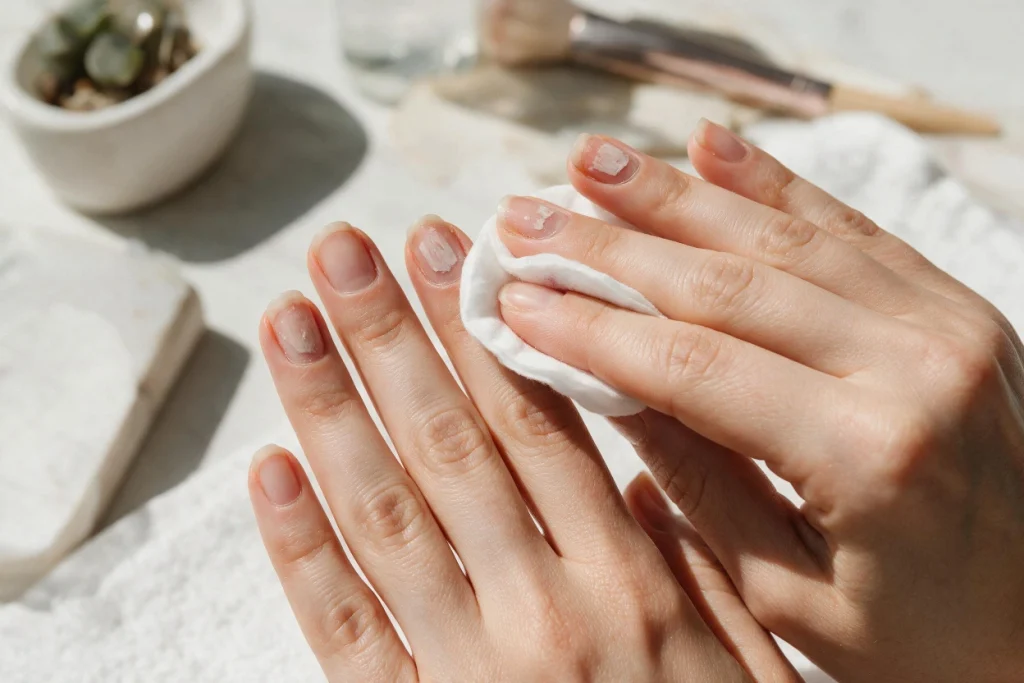
Before starting any manicure, thoroughly remove all traces of old polish using a quality remover. Leftover polish residue creates an uneven surface that prevents new color from adhering properly, often leading to premature chipping and a streaky, unprofessional-looking finish within just a few days.
Use a non-acetone remover for a gentler approach, or acetone for stubborn or dark pigmented polish. Checking nail edges and cuticle areas for missed residue ensures a truly clean canvas. This foundational step sets the stage for every other prep technique that follows.
2. Wash Hands Before You Begin
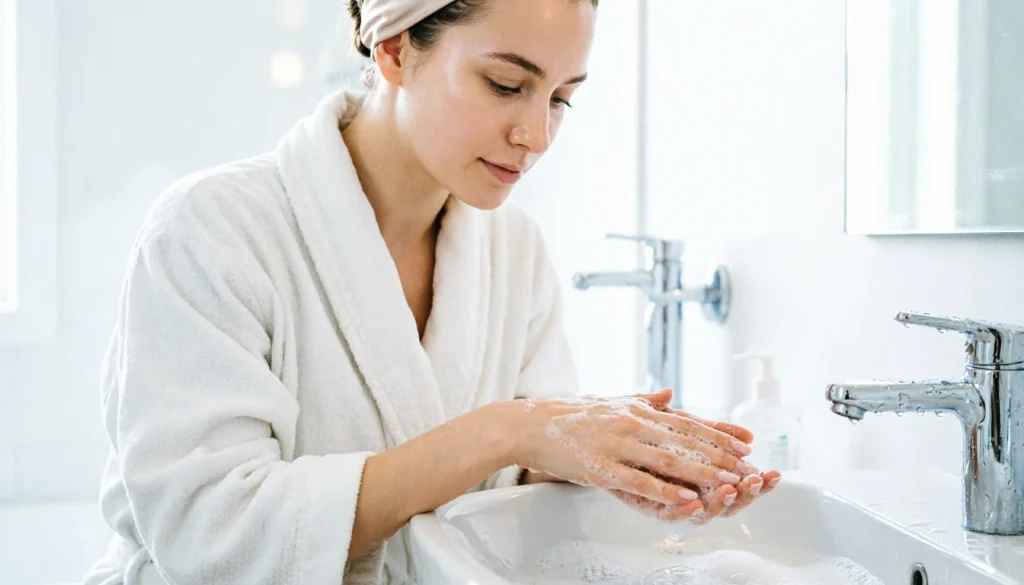
Washing your hands with soap and water removes dirt, lotion, and surface oils that can interfere with polish adhesion. Starting with clean hands ensures every subsequent step, from shaping to buffing, works on a truly clean surface rather than fighting against invisible residue.
This simple step is easy to overlook but makes a noticeable difference in how well polish bonds to the nail. Drying hands thoroughly afterward prevents excess moisture from affecting the nail plate, setting up the rest of your manicure prep for success.
3. Trim and Shape Nails First
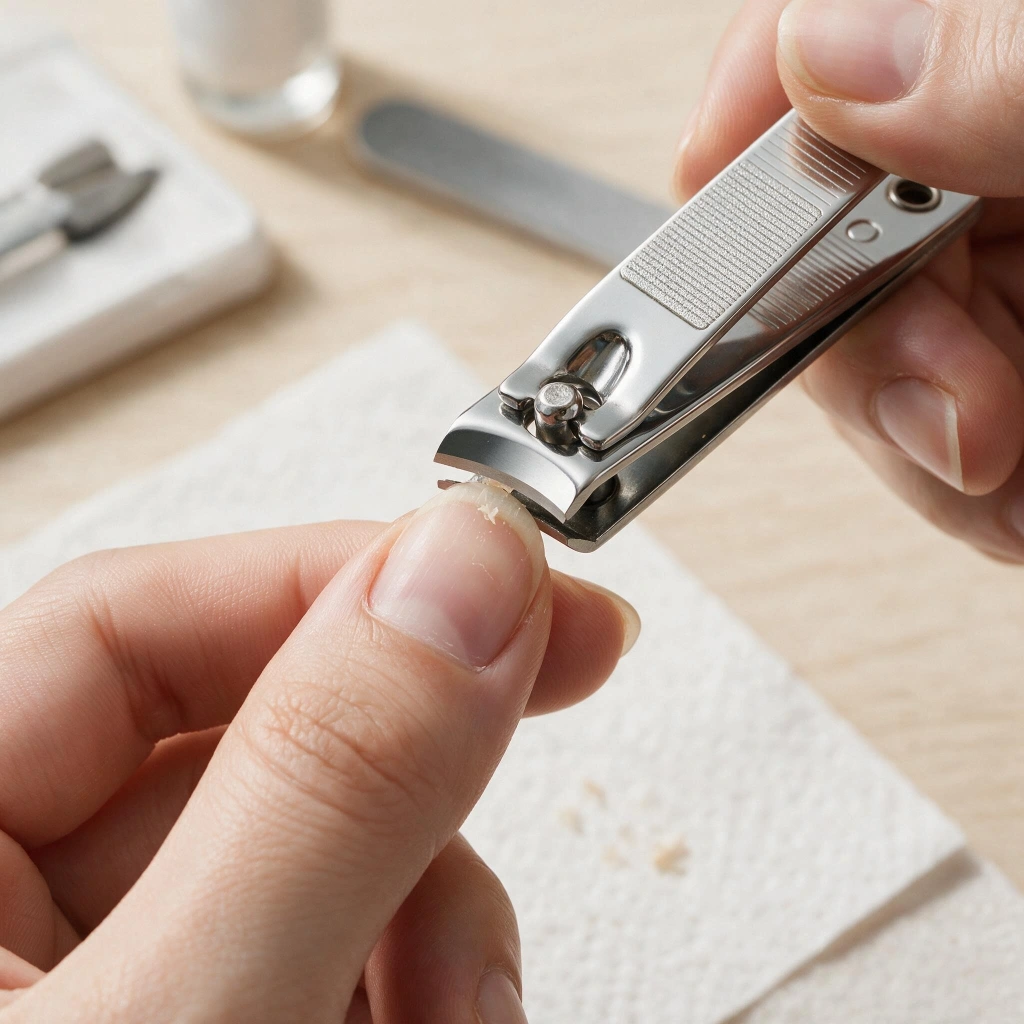
Trimming nails to your desired length and shaping them with a file before polishing ensures a clean, uniform look across all ten nails. Attempting to shape nails after polish is applied often results in chipped edges, uneven color, and a less professional overall finish.
File in one direction rather than sawing back and forth, which can weaken and split the nail edge. Choosing a shape like square, oval, or almond based on your nail bed type helps the polish sit smoothly without lifting prematurely at the tips.
4. Soak Nails Briefly to Soften Cuticles
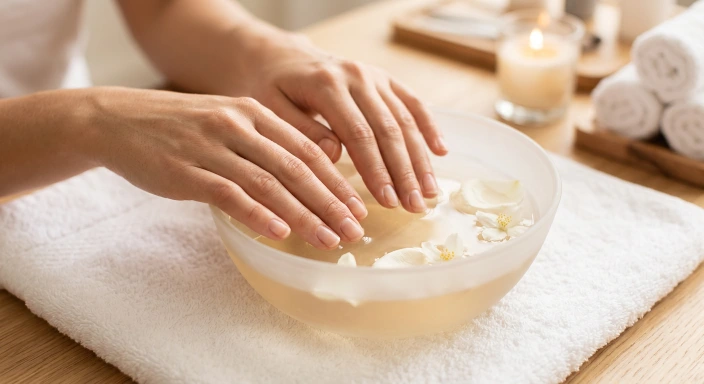
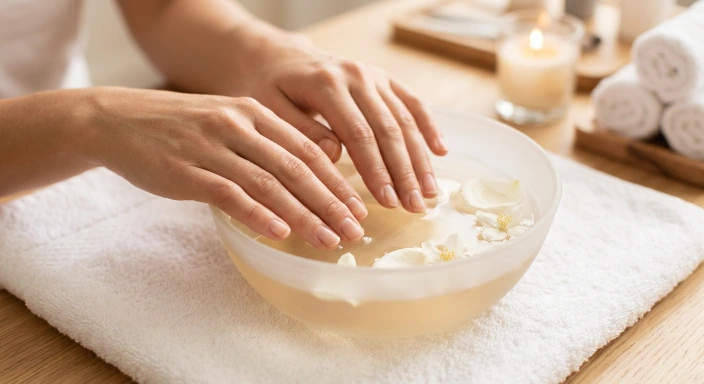
Soaking your fingertips in warm water for a few minutes softens the cuticles, making them easier to push back gently without causing damage or irritation. This step is especially helpful before more detailed cuticle work, creating a cleaner, more polished nail bed overall.
Avoid soaking for too long, as overly softened nails can become more prone to bending or splitting during shaping. A brief three-to-five-minute soak strikes the right balance, preparing cuticles for care while keeping the nail plate strong and ready for polish.
5. Gently Push Back Cuticles
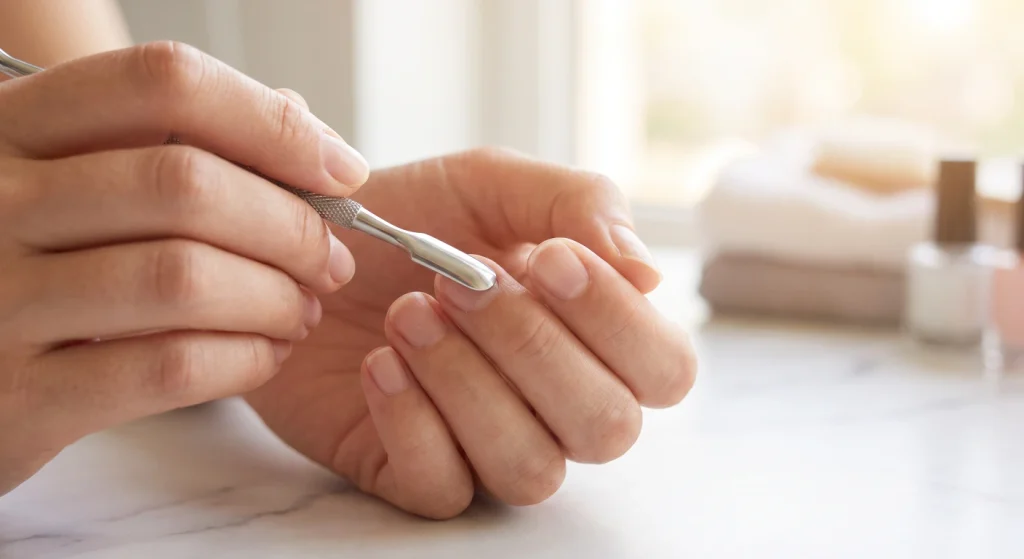
Using a wooden or metal cuticle pusher to gently move back cuticles exposes more of the nail plate, giving polish a larger, cleaner surface to adhere to. This step also creates a neater, more professional-looking manicure with defined edges around the base of each nail.
Avoid cutting cuticles aggressively, as this can lead to irritation, infection, or uneven polish application near the nail bed. Gentle, consistent pressure with the pusher tool achieves the same clean look without risking damage to the delicate surrounding skin.
6. Buff Away Ridges and Shine
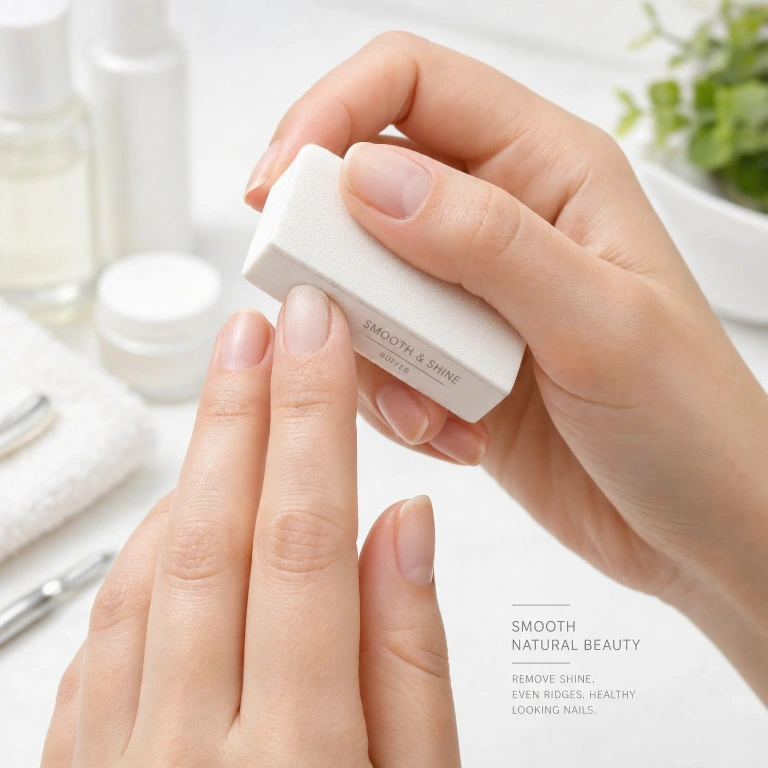
Lightly buffing the nail surface removes natural shine and smooths out minor ridges, creating texture that helps polish grip the nail more effectively. Overly smooth or glossy nails often cause polish to slide or peel prematurely, especially within the first few days of wear.
Use a fine-grit buffer and avoid excessive pressure, which can thin the nail plate over time. A gentle, even pass across each nail is sufficient to improve adhesion without compromising nail strength or health in the process.
7. Wipe Nails with Alcohol or Acetone
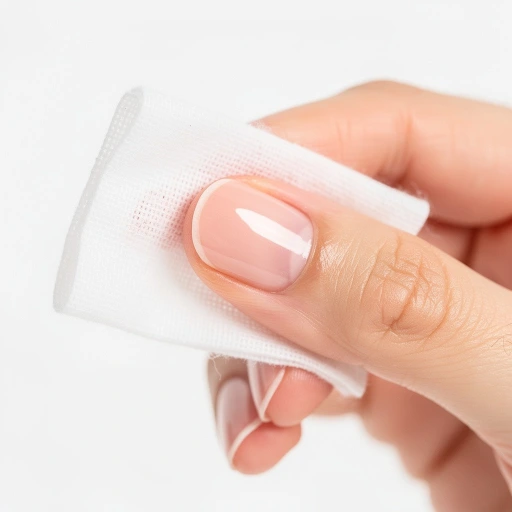
After buffing, wiping each nail with rubbing alcohol or acetone removes any remaining oils, dust, or buffing residue left on the surface. This dehydrating step is essential for maximum polish adhesion, particularly for people with naturally oily nail beds or humid living environments.
Skipping this step is one of the most common reasons polish fails to last as expected. Taking a few extra seconds per nail to wipe thoroughly right before applying base coat significantly improves how long your manicure will stay chip-free and glossy.
8. Apply a Ridge-Filling Base Coat
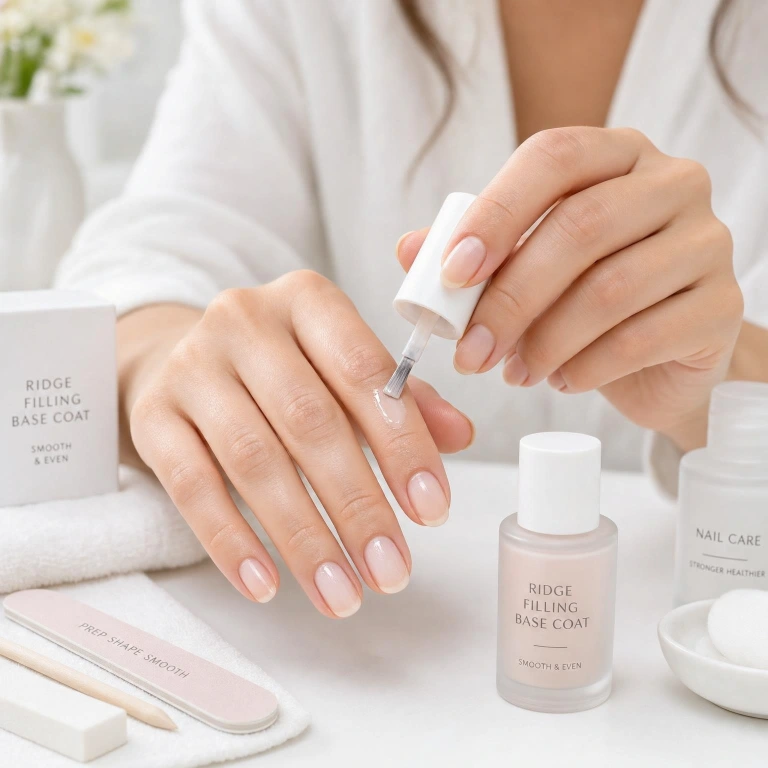
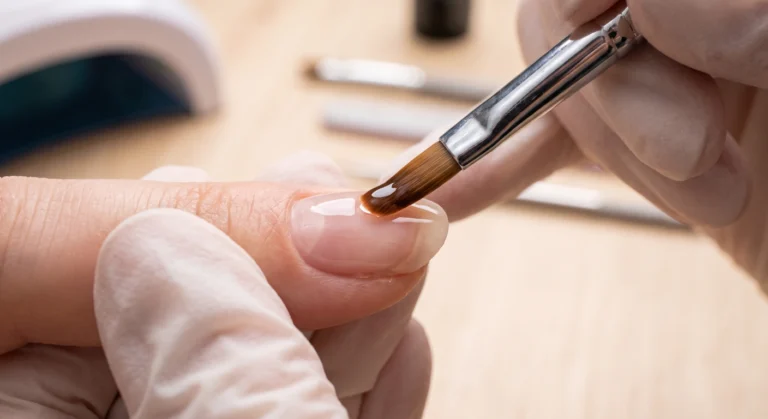
A quality base coat creates a smooth, protective layer between your natural nail and colored polish, helping prevent staining while filling in minor ridges for an even application. This foundational step significantly improves how well polish adheres and how long it ultimately lasts.
Choosing a strengthening or ridge-filling formula offers additional benefits for weak, damaged, or ridged nails. Allowing the base coat to dry fully before adding color ensures proper bonding at every layer, setting up the rest of the manicure for lasting success.
9. Keep Nails Dry Before Polishing
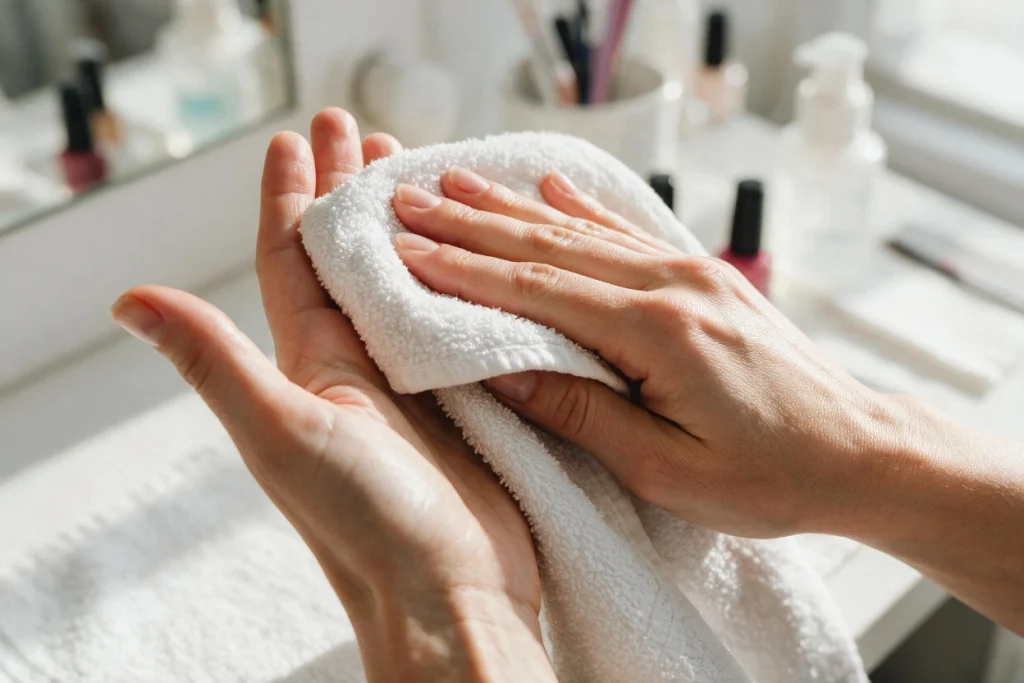
Any residual moisture on the nail plate can interfere with polish adhesion, causing bubbling or premature lifting shortly after application. Ensuring nails are completely dry, especially after soaking or washing hands, is a small but crucial step often overlooked during at-home manicures.
Patting nails dry with a clean towel and allowing a few extra minutes of air-drying time helps eliminate any trapped moisture. This attention to detail ensures the base coat and subsequent polish layers bond properly for a longer-lasting, more durable finish.
10. Choose the Right Nail Shape for Your Lifestyle
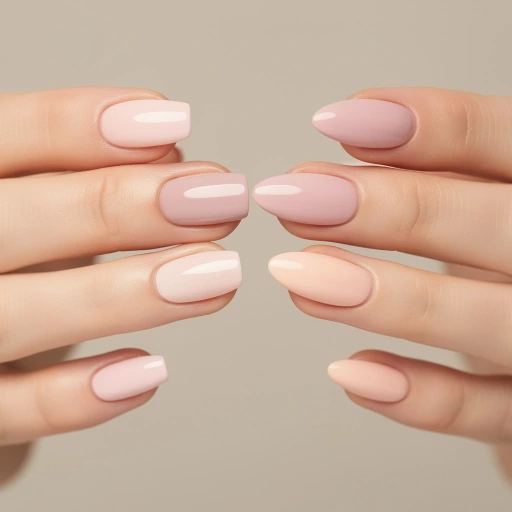
Selecting a nail shape suited to your daily activities can significantly impact how long your polish lasts. Longer or more dramatic shapes are more prone to chipping and breaking, while shorter, rounded shapes tend to hold up better against everyday wear and tear.
Considering your lifestyle, whether active, hands-on, or more low-key, helps determine the most practical shape for lasting polish. This thoughtful prep decision reduces the likelihood of accidental breaks or chips that can shorten your manicure’s overall lifespan.
11. Avoid Lotion Right Before Polishing
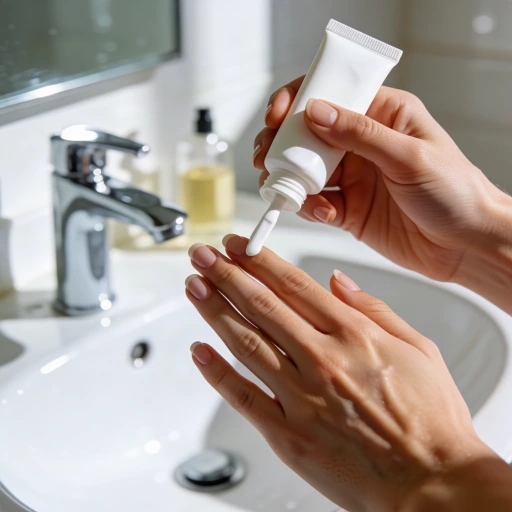
Applying hand lotion immediately before polishing leaves an oily residue on the nail surface that prevents polish from bonding properly. Even a small amount of moisturizer can cause color to slide, bubble, or chip prematurely, undoing much of your careful nail prep work.
Save lotion application for after your manicure is fully dry and cured. If your hands feel dry during prep, opt for a quick alcohol wipe instead to ensure nails remain completely oil-free and ready for long-lasting polish application.
12. Use Thin, Even Base Coat Layers
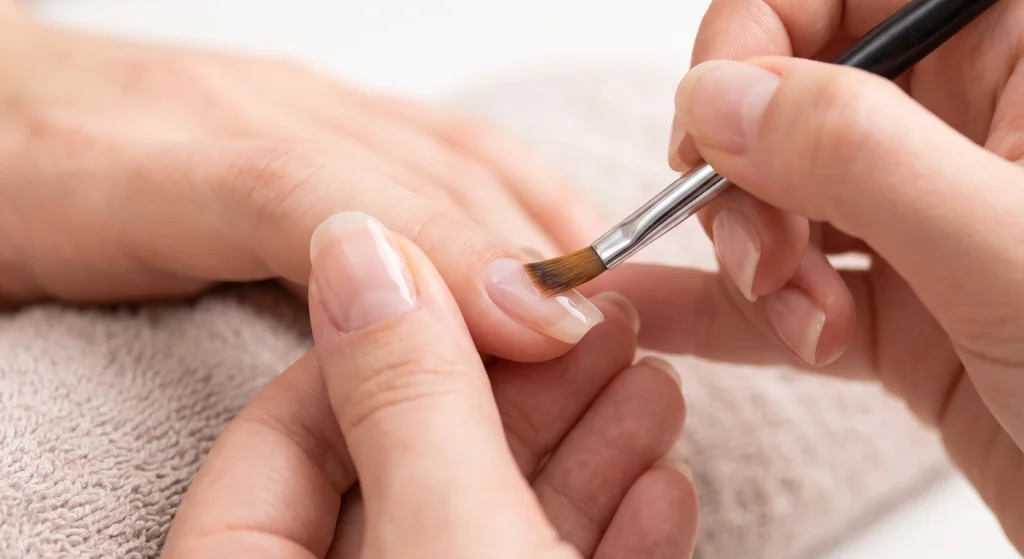
Applying a thin, even layer of base coat rather than a thick one allows it to dry properly and create a smooth foundation for color application. Thick base coat layers can trap moisture underneath, leading to bubbling or uneven texture once color polish is added.
This careful application technique ensures each subsequent layer bonds correctly to the one beneath it. Taking time during this early step pays off significantly in the form of a smoother, longer-lasting manicure with fewer imperfections throughout the wear period.
13. Let Each Layer Dry Fully
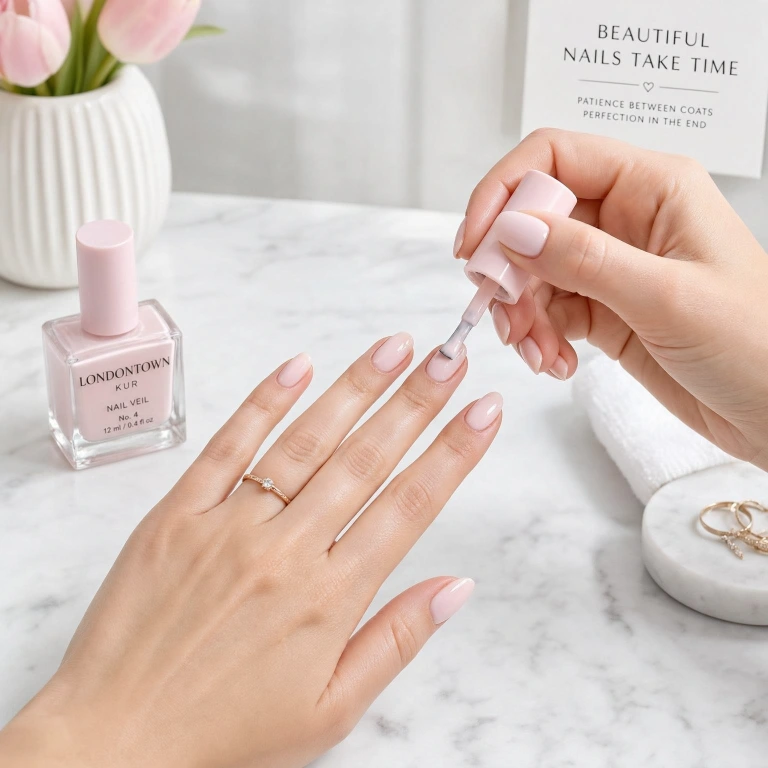
Allowing adequate drying time between each layer, from base coat to color to top coat, prevents smudging, bubbling, and uneven texture. Rushing this process is one of the most common mistakes that leads to a shorter-lasting, less polished-looking manicure overall.
Using quick-dry drops or a small fan can help speed up drying time safely without compromising the finish. Patience during this stage of nail prep directly translates into smoother application and significantly improved polish longevity in the days that follow.
14. Seal the Free Edge with Every Coat
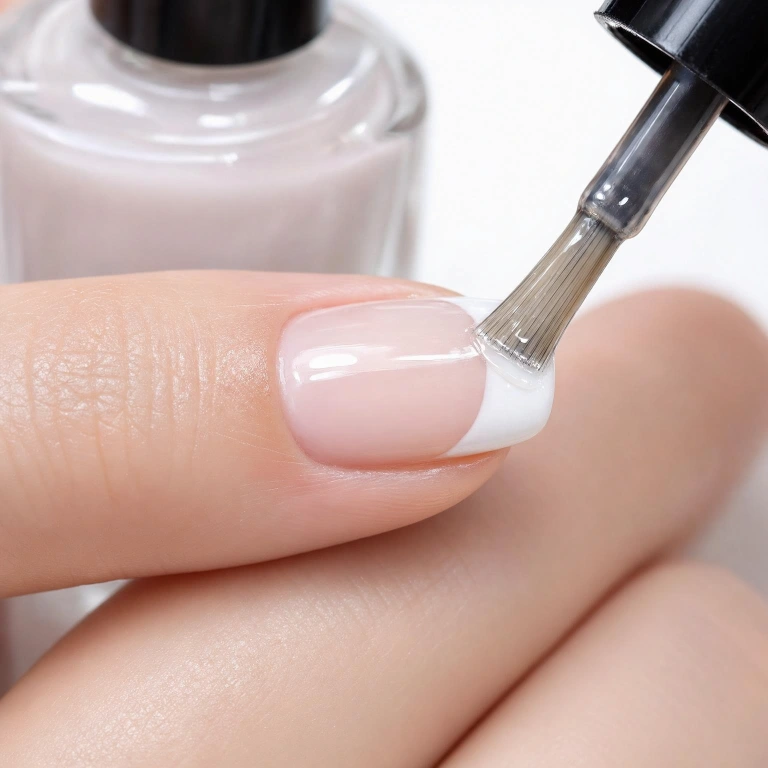
Sealing the tip, or free edge, of each nail during every coat of polish reinforces the area most prone to chipping from daily friction and water exposure. This simple technique significantly extends how long your manicure lasts by protecting the most vulnerable part of the nail.
Many chips begin at the tip due to typing, washing dishes, or everyday tasks. Taking the extra few seconds to swipe polish across the edge with each layer, from base coat through top coat, makes a noticeable difference in overall durability.
15. Moisturize Cuticles After Prep, Not Before
While cuticle care is important, applying oil immediately before polishing can leave residue that affects adhesion. Instead, moisturize cuticles the night before your manicure or wait until polish has fully dried and cured to apply oil around the nail edges safely.
This timing ensures your nails stay healthy and hydrated without compromising how well the polish bonds to the nail plate. Keeping this order in mind is a small adjustment that meaningfully improves your manicure’s overall lasting power and appearance.
16. Finish with a Quality Top Coat
A high-quality top coat seals in color and adds a protective glossy layer that shields your manicure from daily wear. This final step locks in all your careful prep work, preventing chipping while giving your nails a salon-fresh, reflective shine that lasts noticeably longer.
Reapplying a fresh layer of top coat every few days can extend your manicure’s life even further. Choosing a fast-drying or gel-effect formula offers added durability, making this final prep-adjacent step just as important as everything that came before it.
17. Avoid Water and Activities Right After
After completing your prep and polish routine, avoid hot water, tight gloves, or heavy tasks for at least an hour to let the polish fully set. Nail polish can look dry on the surface while remaining soft underneath, making early activity a common cause of dents or smudges.
This final patience step protects all the careful preparation work that came before it. Giving your manicure adequate time to cure fully ensures your longer-lasting polish results truly reflect the effort put into proper nail prep from start to finish.