1. Start with Clean, Bare Nails
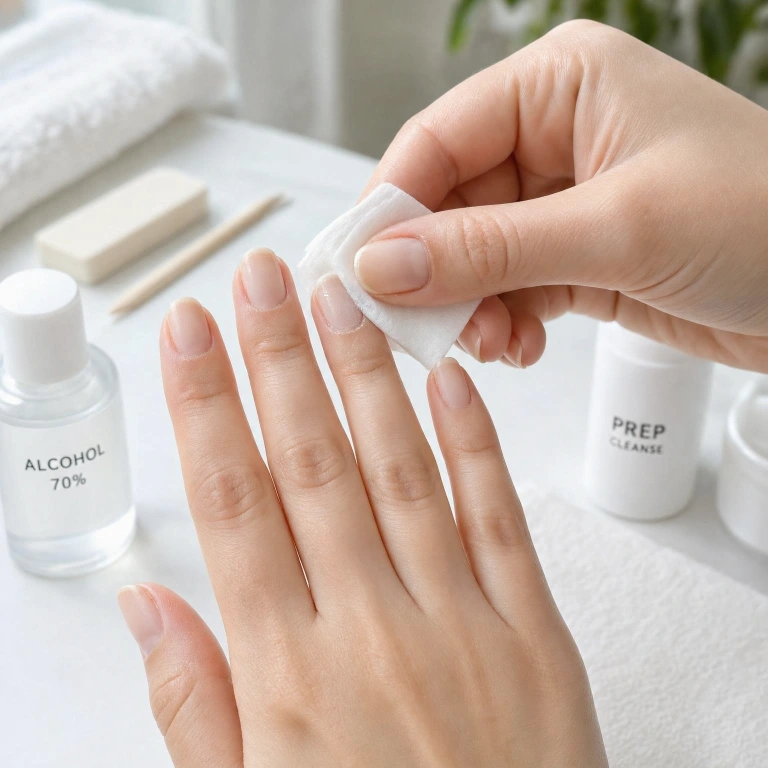
Before applying any gel polish, thoroughly cleanse your nails with rubbing alcohol to remove oils, lotion, and debris. This crucial prep step ensures maximum adhesion between the nail plate and gel polish, preventing premature peeling or lifting that commonly occurs when nails aren’t properly cleaned beforehand.
Skipping this step is one of the leading causes of gel manicure failure. Wiping each nail individually right before application creates the ideal surface for long-lasting wear. Nail professionals consistently emphasize this foundational step for achieving salon-quality, durable at-home gel results.
2. Gently Push Back and Trim Cuticles
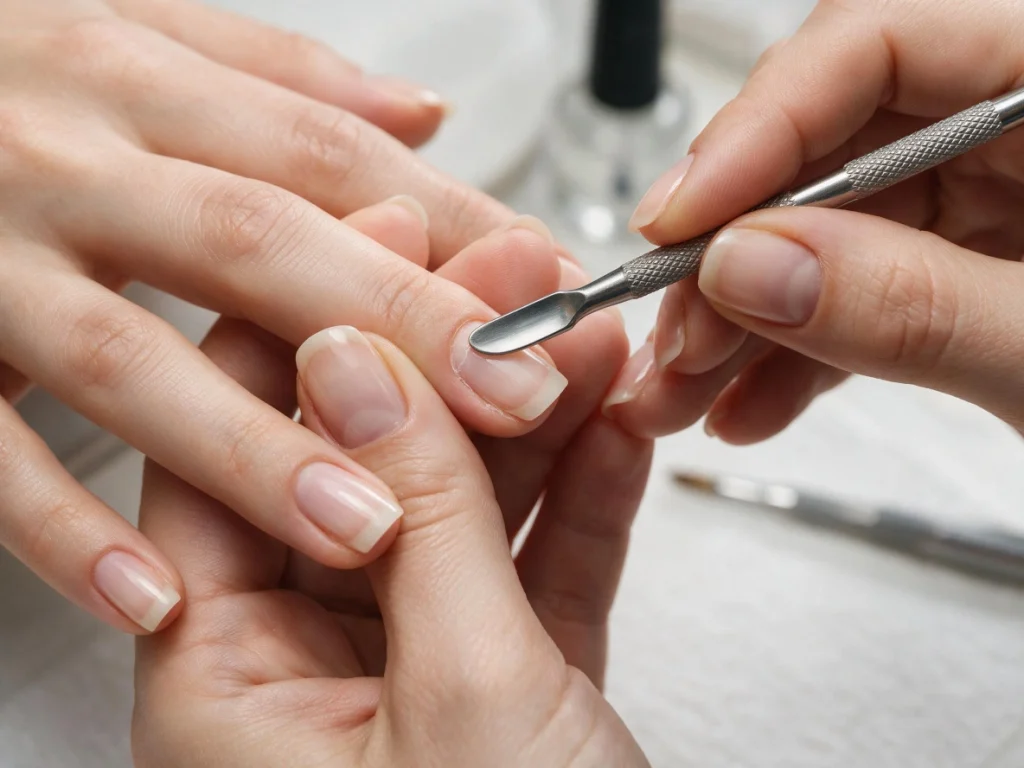
Gently pushing back cuticles with a wooden or metal cuticle pusher creates more surface area for gel polish application while giving your manicure a clean, professional finish. Avoid cutting cuticles aggressively, as this can lead to irritation, infection, or uneven polish application around the nail edges.
Well-maintained cuticles also prevent gel polish from lifting prematurely near the nail bed. Taking a few extra minutes for proper cuticle care significantly improves both the appearance and longevity of your at-home gel manicure, making this step essential rather than optional.
3. Lightly Buff the Nail Surface
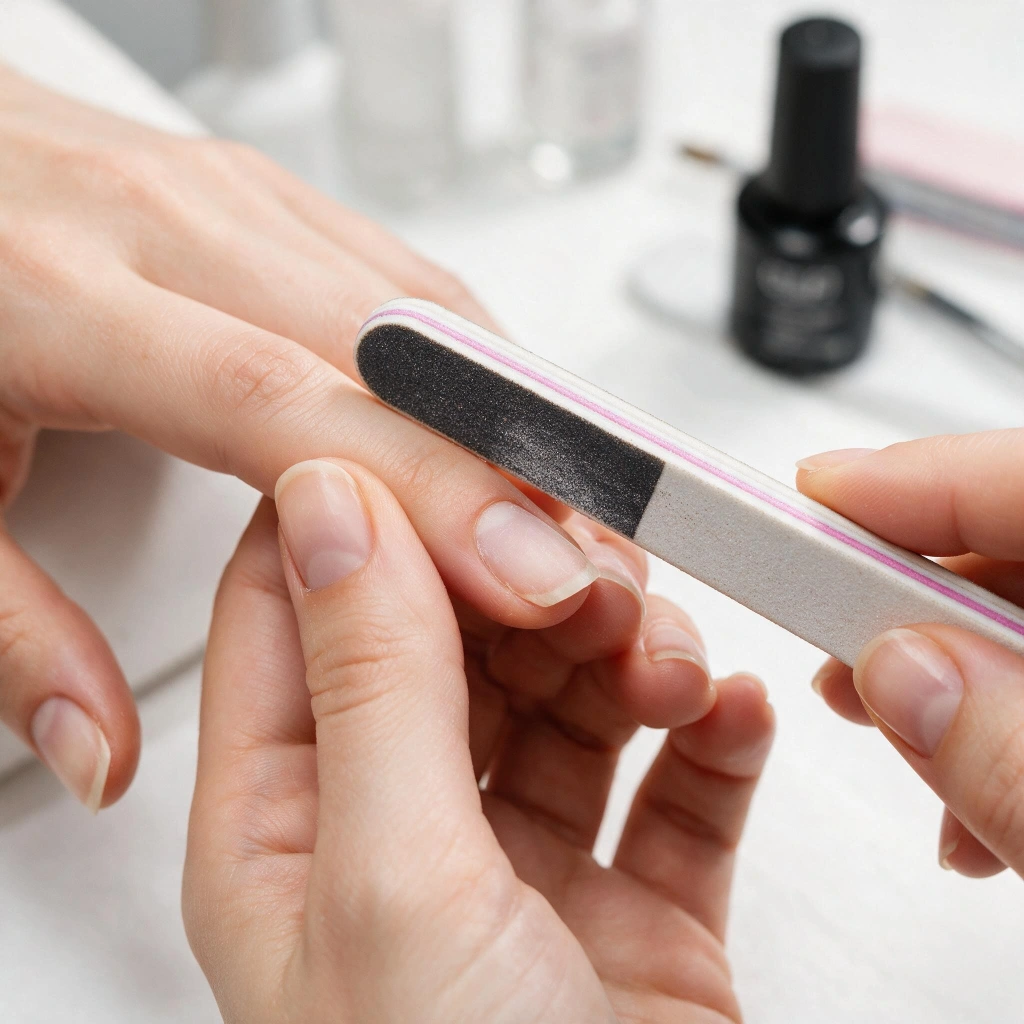
Lightly buffing the natural nail surface with a fine-grit buffer removes shine and creates texture that helps gel polish adhere more securely. This step is essential for gel manicures specifically, as smooth, glossy nail surfaces cause gel polish to slide or lift prematurely within just a few days.
Avoid over-buffing, which can thin and weaken the nail plate over time. A gentle, even buff across each nail is sufficient to improve adhesion without causing damage. This often-overlooked step makes a significant difference in overall gel manicure durability.
4. Apply a Bonding Primer
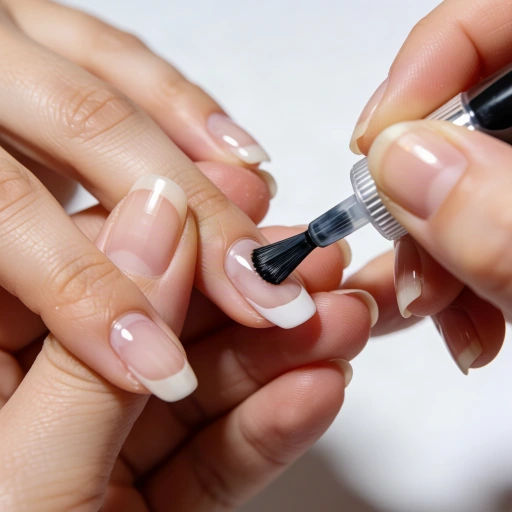
Using a dehydrating bonding primer before your base coat helps eliminate any remaining moisture or oil on the nail surface, creating an optimal foundation for gel polish adhesion. This extra step is particularly helpful for people whose gel manicures tend to lift or chip earlier than expected.
Primers are especially beneficial for oily nail beds or humid climates where adhesion challenges are more common. Allowing the primer to fully dry before proceeding ensures the base coat bonds properly, significantly extending the overall wear time of your at-home gel manicure.
5. Apply Thin, Even Layers
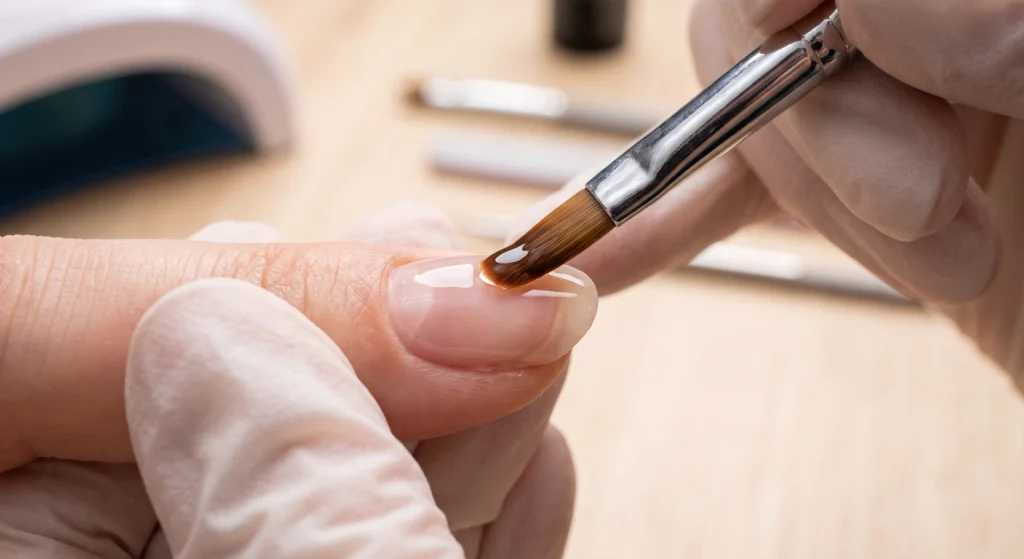
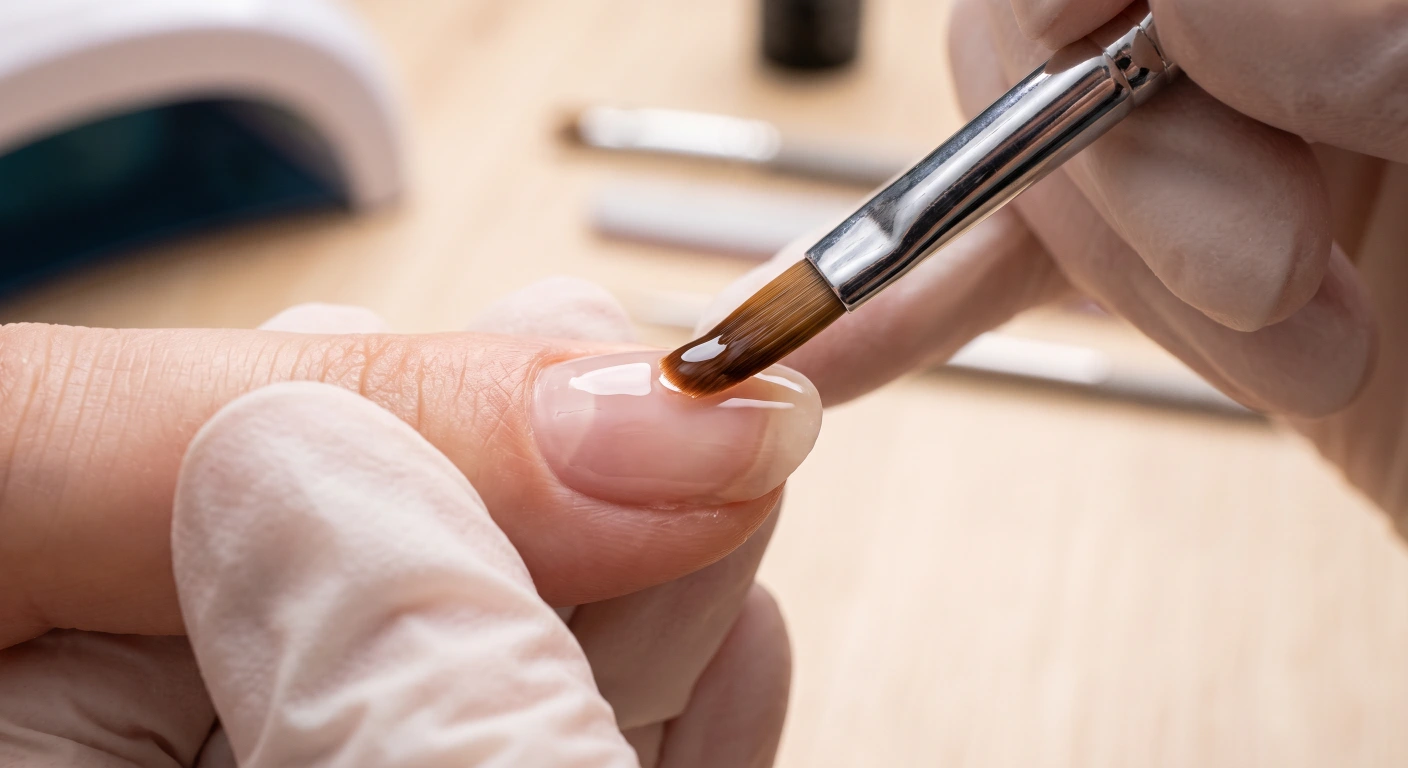
Applying thin, even coats of gel polish rather than one thick layer ensures proper curing under UV or LED light and prevents bubbling, wrinkling, or uneven texture. Thick applications often fail to cure fully in the center, leading to soft spots that chip or peel prematurely.
Two thin coats of color typically provide better opacity and durability than a single heavy application. Taking time between coats to ensure even coverage results in a smoother, more professional-looking finish that closely mimics an in-salon gel manicure experience.
6. Cap the Free Edge Every Time
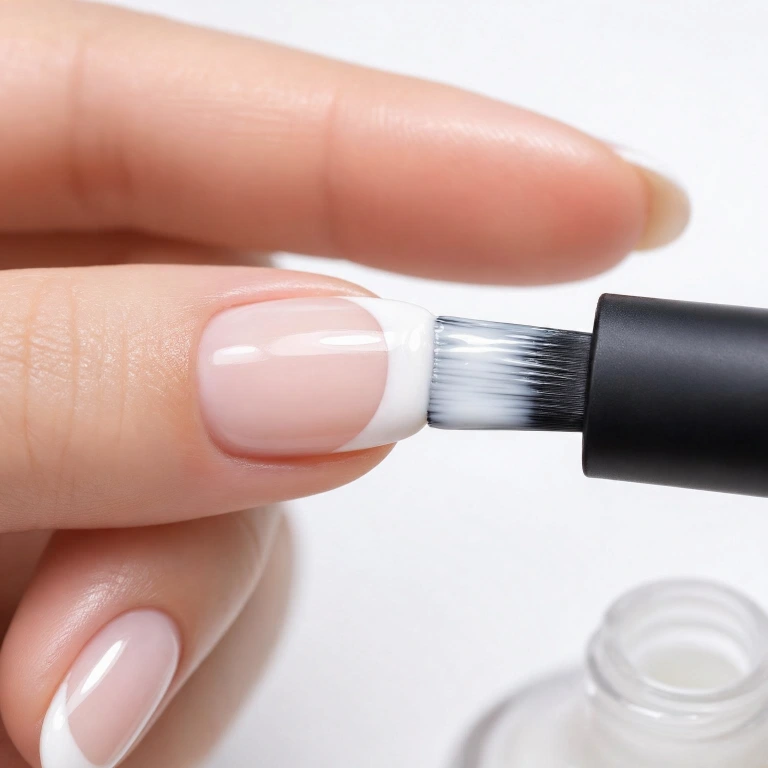
Sealing, or “capping,” the free edge of each nail with gel polish during every coat is one of the most important techniques for preventing lifting and chipping. This step reinforces the nail tip, which experiences the most friction and stress from daily activities and water exposure.
Skipping this step is a common mistake that leads to premature lifting starting at the nail’s edge. Taking the extra few seconds to swipe polish across the tip during base coat, color, and top coat application significantly extends your gel manicure’s overall lifespan.
7. Cure Each Layer for the Correct Time
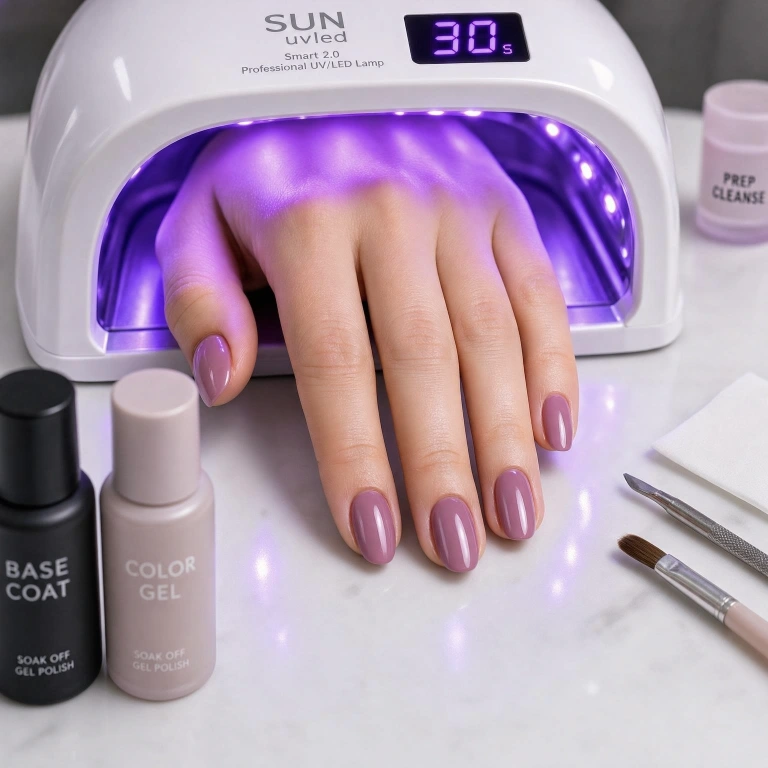
Properly curing each layer under a UV or LED lamp for the manufacturer-recommended time is essential for a durable, long-lasting gel manicure. Under-curing leaves polish soft and prone to smudging or peeling, while inconsistent curing times between layers can compromise the overall strength of the finish.
Different gel polish brands and lamp wattages require varying cure times, so always check product instructions carefully. Investing in a quality LED lamp with consistent output ensures each layer cures fully and evenly, directly impacting how long your at-home gel manicure ultimately lasts.
8. Wipe Away Tacky Residue After Curing
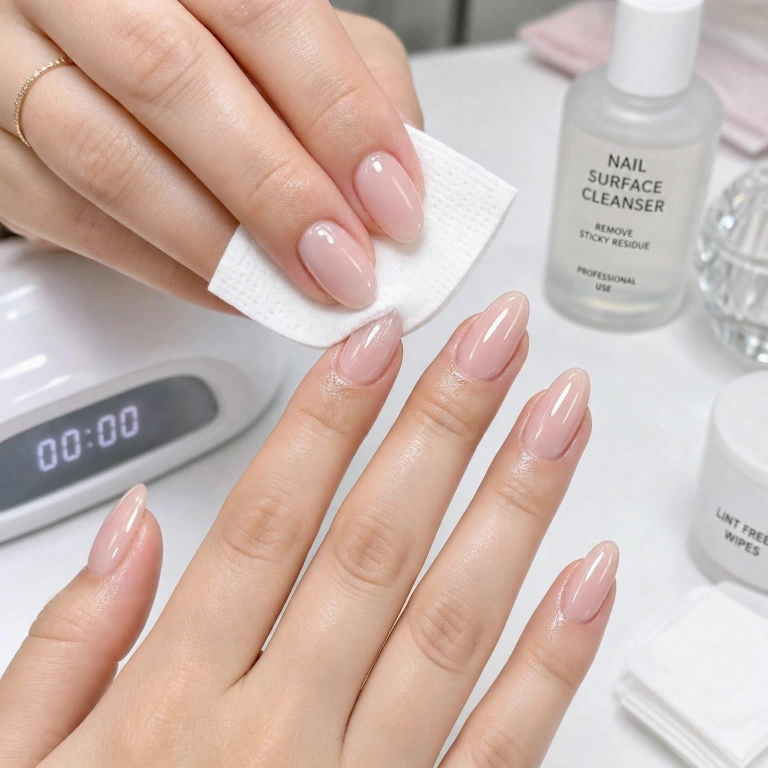
After curing your top coat, a tacky residue layer often remains on the nail surface. Wiping this away with a lint-free pad and rubbing alcohol reveals the true glossy finish underneath and prevents dust or lint from sticking to your nails during the following hours.
Skipping this step can leave your manicure looking dull or attracting debris shortly after application. This quick final wipe-down step takes only a minute but makes a significant difference in achieving that smooth, high-shine, salon-quality finish everyone wants from a gel manicure.
9. Avoid Filing Gel Polish Shape After Application
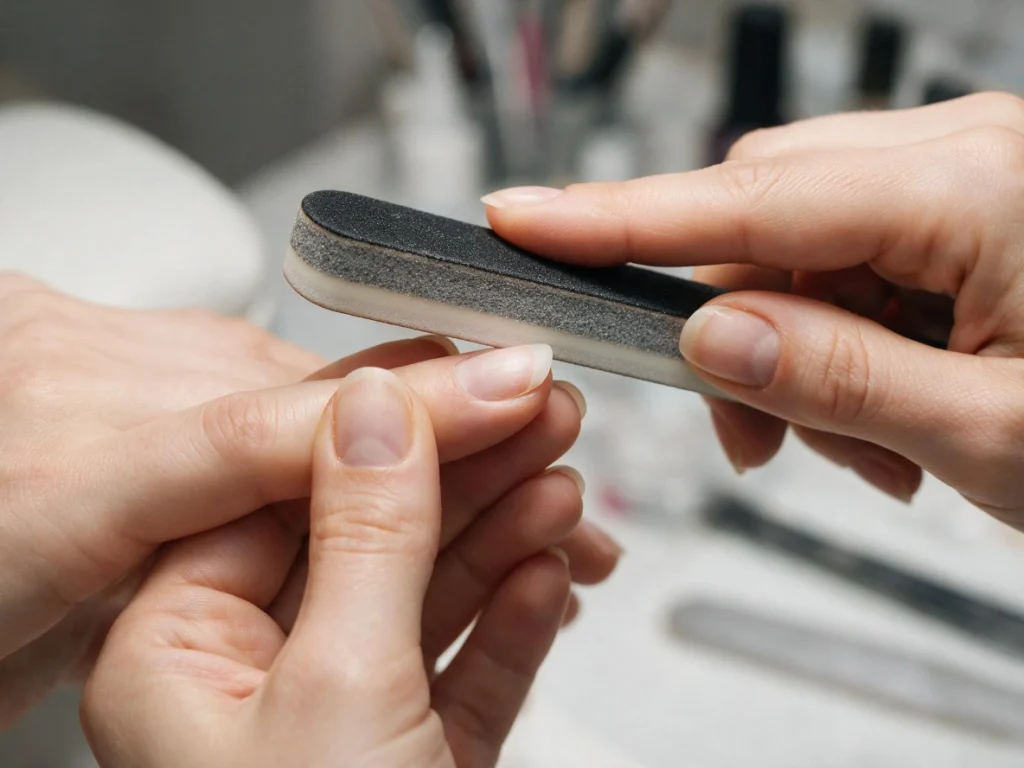
Shape and file your nails before applying any gel polish rather than attempting to adjust the shape afterward. Filing cured gel polish can create rough edges, weaken the top coat’s protective seal, and lead to premature chipping or an uneven, unprofessional-looking finish overall.
Deciding on your desired nail shape, whether round, square, or almond, during the prep stage ensures a cleaner application process from start to finish. This planning step saves time and helps preserve the integrity of your gel manicure once it’s fully cured.
10. Use Quality Gel Polish Brands
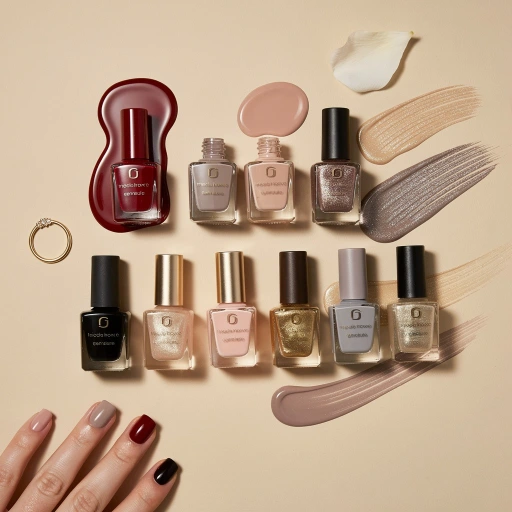
Investing in reputable, high-quality gel polish brands makes a noticeable difference in application smoothness, color payoff, and overall durability compared to cheaper alternatives. Quality formulas often contain better pigment concentration and more reliable curing properties, resulting in a longer-lasting, more professional-looking manicure.
While premium gel polishes may cost more upfront, their extended wear time and reduced risk of lifting or chipping often make them more cost-effective over time. Researching trusted brands before purchasing ensures a better overall at-home gel manicure experience and results.
11. Don’t Skip the Top Coat
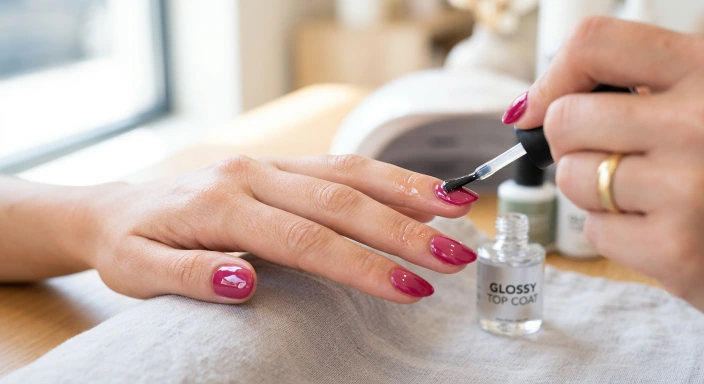
A high-quality gel top coat seals in color, adds protective shine, and significantly extends the overall durability of your manicure. Skipping this final layer or applying it too thin leaves color polish vulnerable to scratches, fading, and premature wear from everyday activities and friction.
Ensure the top coat fully covers the nail surface, including the free edge, for maximum protection. This finishing layer is what gives gel manicures their signature glossy, long-lasting shine, making it one of the most important steps in the entire process.
12. Moisturize Cuticles and Hands After
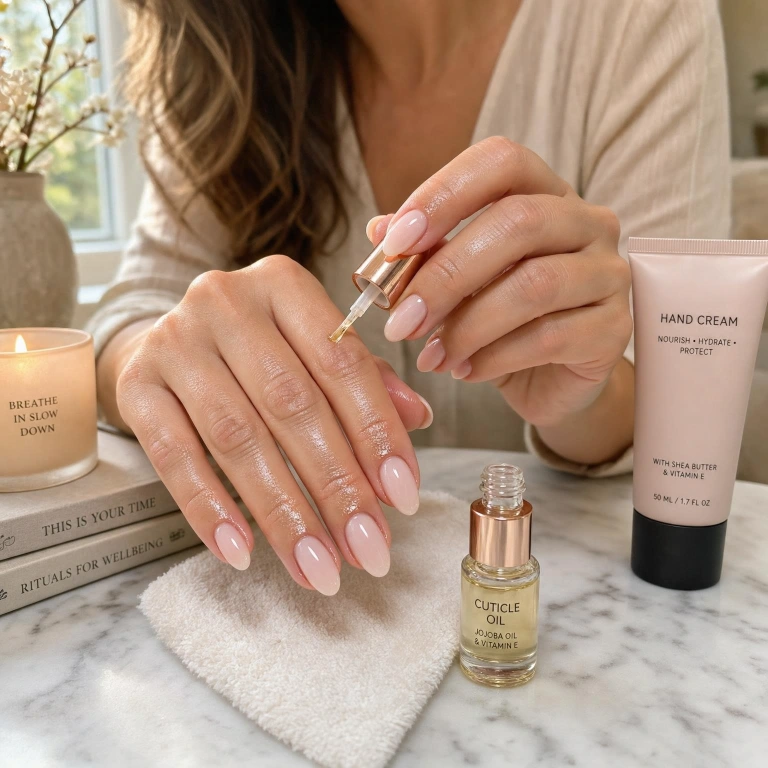
Once your gel manicure is complete, applying cuticle oil and hand cream helps restore moisture lost during the prep and curing process. Hydrated cuticles not only look healthier but also help prevent the surrounding skin from becoming dry, cracked, or prone to lifting the polish edges.
Making this a daily habit throughout the life of your gel manicure keeps both your nails and hands looking well-maintained. This simple aftercare step significantly improves the overall appearance and longevity of your at-home gel manicure results.
13. Avoid Soaking Hands in Water Immediately After
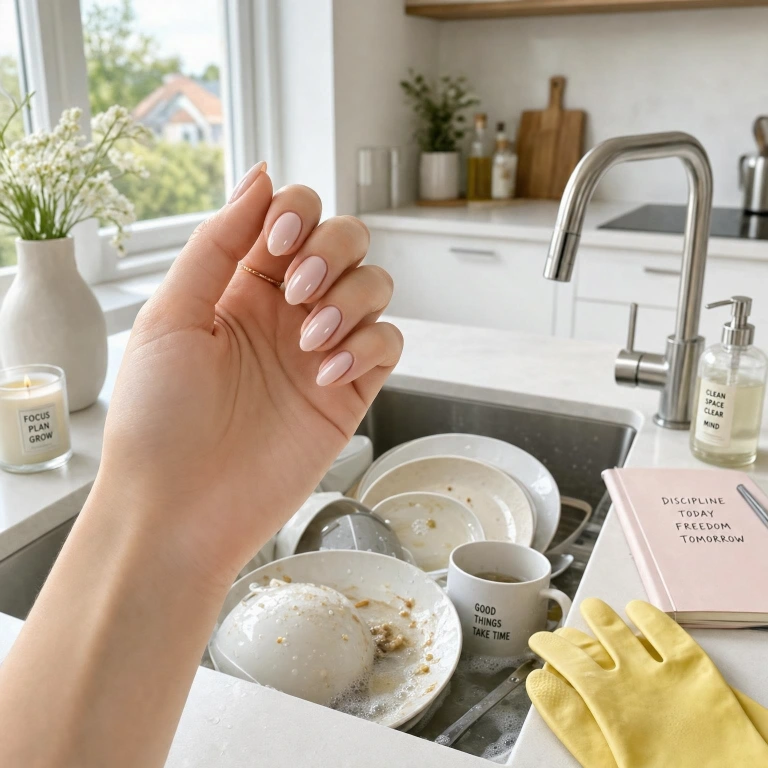
While gel polish cures fully under UV or LED light, avoiding prolonged water exposure immediately after application helps the polish settle and bond properly. Excessive soaking too soon can occasionally affect adhesion, particularly around the cuticle area where the seal is most vulnerable.
Waiting a few hours before activities like dishwashing, bathing, or swimming allows the gel manicure to fully stabilize. This small precaution helps ensure your at-home gel manicure maintains its strong bond and glossy finish for the full duration of its expected wear time.
14. Remove Gel Polish Properly
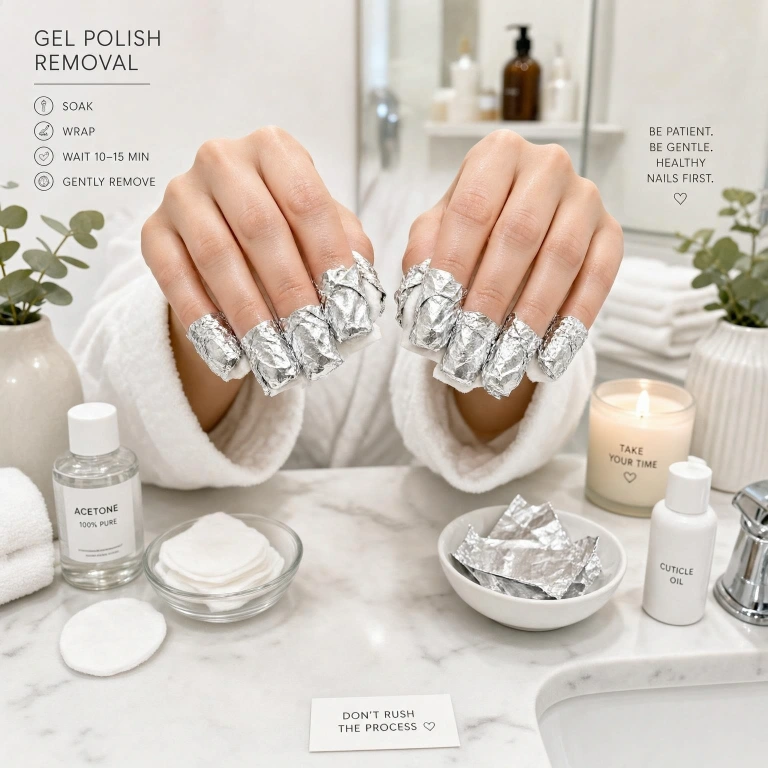
Removing gel polish correctly using the foil and acetone soaking method protects your natural nails from damage caused by peeling or picking. Wrapping acetone-soaked cotton pads in foil and allowing them to sit for ten to fifteen minutes softens the gel for gentle, damage-free removal.
Peeling off gel polish forcibly strips layers off the natural nail plate, leading to thin, weak, and brittle nails over time. Practicing proper removal technique protects nail health and ensures your nails are ready for a fresh, healthy gel manicure application next time.
15. Give Nails a Break Between Manicures
Allowing your natural nails a short break between gel manicures gives them time to recover from the repeated curing and removal process. Continuous gel application without breaks can lead to thinning, weakening, or dehydration of the natural nail plate over extended periods of regular use.
Using this break time to apply strengthening treatments or cuticle oil helps restore nail health before your next application. This simple habit ensures your nails remain strong and healthy enough to support long-lasting, beautiful gel manicures well into the future.
16. Invest in a Reliable UV/LED Lamp
A reliable, adequately powered UV or LED lamp is essential for properly curing gel polish and achieving long-lasting results at home. Underpowered or inconsistent lamps can lead to soft, under-cured polish that chips, peels, or smudges far sooner than expected, undermining your entire manicure.
Choosing a lamp compatible with your specific gel polish brand and replacing bulbs as needed ensures consistent curing performance over time. This investment pays off significantly in the form of more durable, professional-quality gel manicures achieved conveniently from the comfort of home.